81CJH
Member
-
Joined
-
Last visited
-
I'll be along for a squiz around lunch time.
-
I'll be there for a look-see. Paul, the warranty's up, so I think it's about time we had that little chat. Cyas then!
-
Its great fun too. You get to curse at the games for "cheating" just like the old days. Best part is when you get jack of it you can throw the controller across the room and it don't break! Try throwing an arcade machine without breaking something :banghead:
-
...and I don't have any photos of me or others playing, so I just took a couple of my Snow Bros. high score. Remember when I said it was my favourite game? I wasn't kidding. This high score was me clocking the game on one credit.


-
Simple really... I S.U.C.K. at street fighter & mortal kombat. ...but I could easily add another three buttons, that's the beauty of it. 2 cat 5 cables, each with 8 wires. A joystick takes 4 wires, one wire per button after that and one for an earth, so I could expand up to another 4 buttons on the Player 1 table & 6 on player 2. Out of interest, it cost me around $150 to build both tables ($69 just for the kb encoder), and I already had the PC kicking around gathering dust.
-
From the local ROM-Grocer, of course. My absolute all time favourite is Snow Bros, which you can get from here.. Enjoy!
-
All righty then. Who remembers going to the arcade halls back when the machines only cost 20c a go? Double Dragon, Street Fighter, Golden Axe, Snow Bros.... all the classics. Well I've been messing around with MAME in recent months, and have built a setup which is portable, durable and pretty much fool proof. As it turns out you can still buy brand new parts for arcade machines, and they're not even that expensive! A local computer store in Brisbane Gamedude sells joysticks and buttons and all that stuff, as well as keyboard encoders to hook it up to a PC, which is really cool. So, rather than build an arcade cabinet which is large and not very portable, I bought a bunch of buttons & a couple of joysticks, and mounted them into a pair of stable tables! I also added a couple of extra buttons mounted in the Player 1 table which allows for game swapping & shutting the PC down. Each stable table has two cat5 network cables which run back to the keyboard encoder mounted in a dedicated MAME PC, which just runs a minimal install of Windows 98. The PC is pretty old and crap (you don't need much to run MAME), but has a basic 3d card in it with a tv out, and I've made a short 3.5mm to female RCA lead, so that all you need is an off-the-shelf RCA cable to run both video & audio into the AV input of any TV. If you wanted to get hardcore portable you could possibly adapt this to suit a laptop or one of those barebones mini PC's. Take a look, fire off any questions, and go build yourself one just like it! It's awesome fun.


-
I missed out Wed night, anyone heading out tomorrow night?
-
Common sense has nothing to do with it, It's about personal preference, we already established that. ... except having mudflaps does make sense.
-
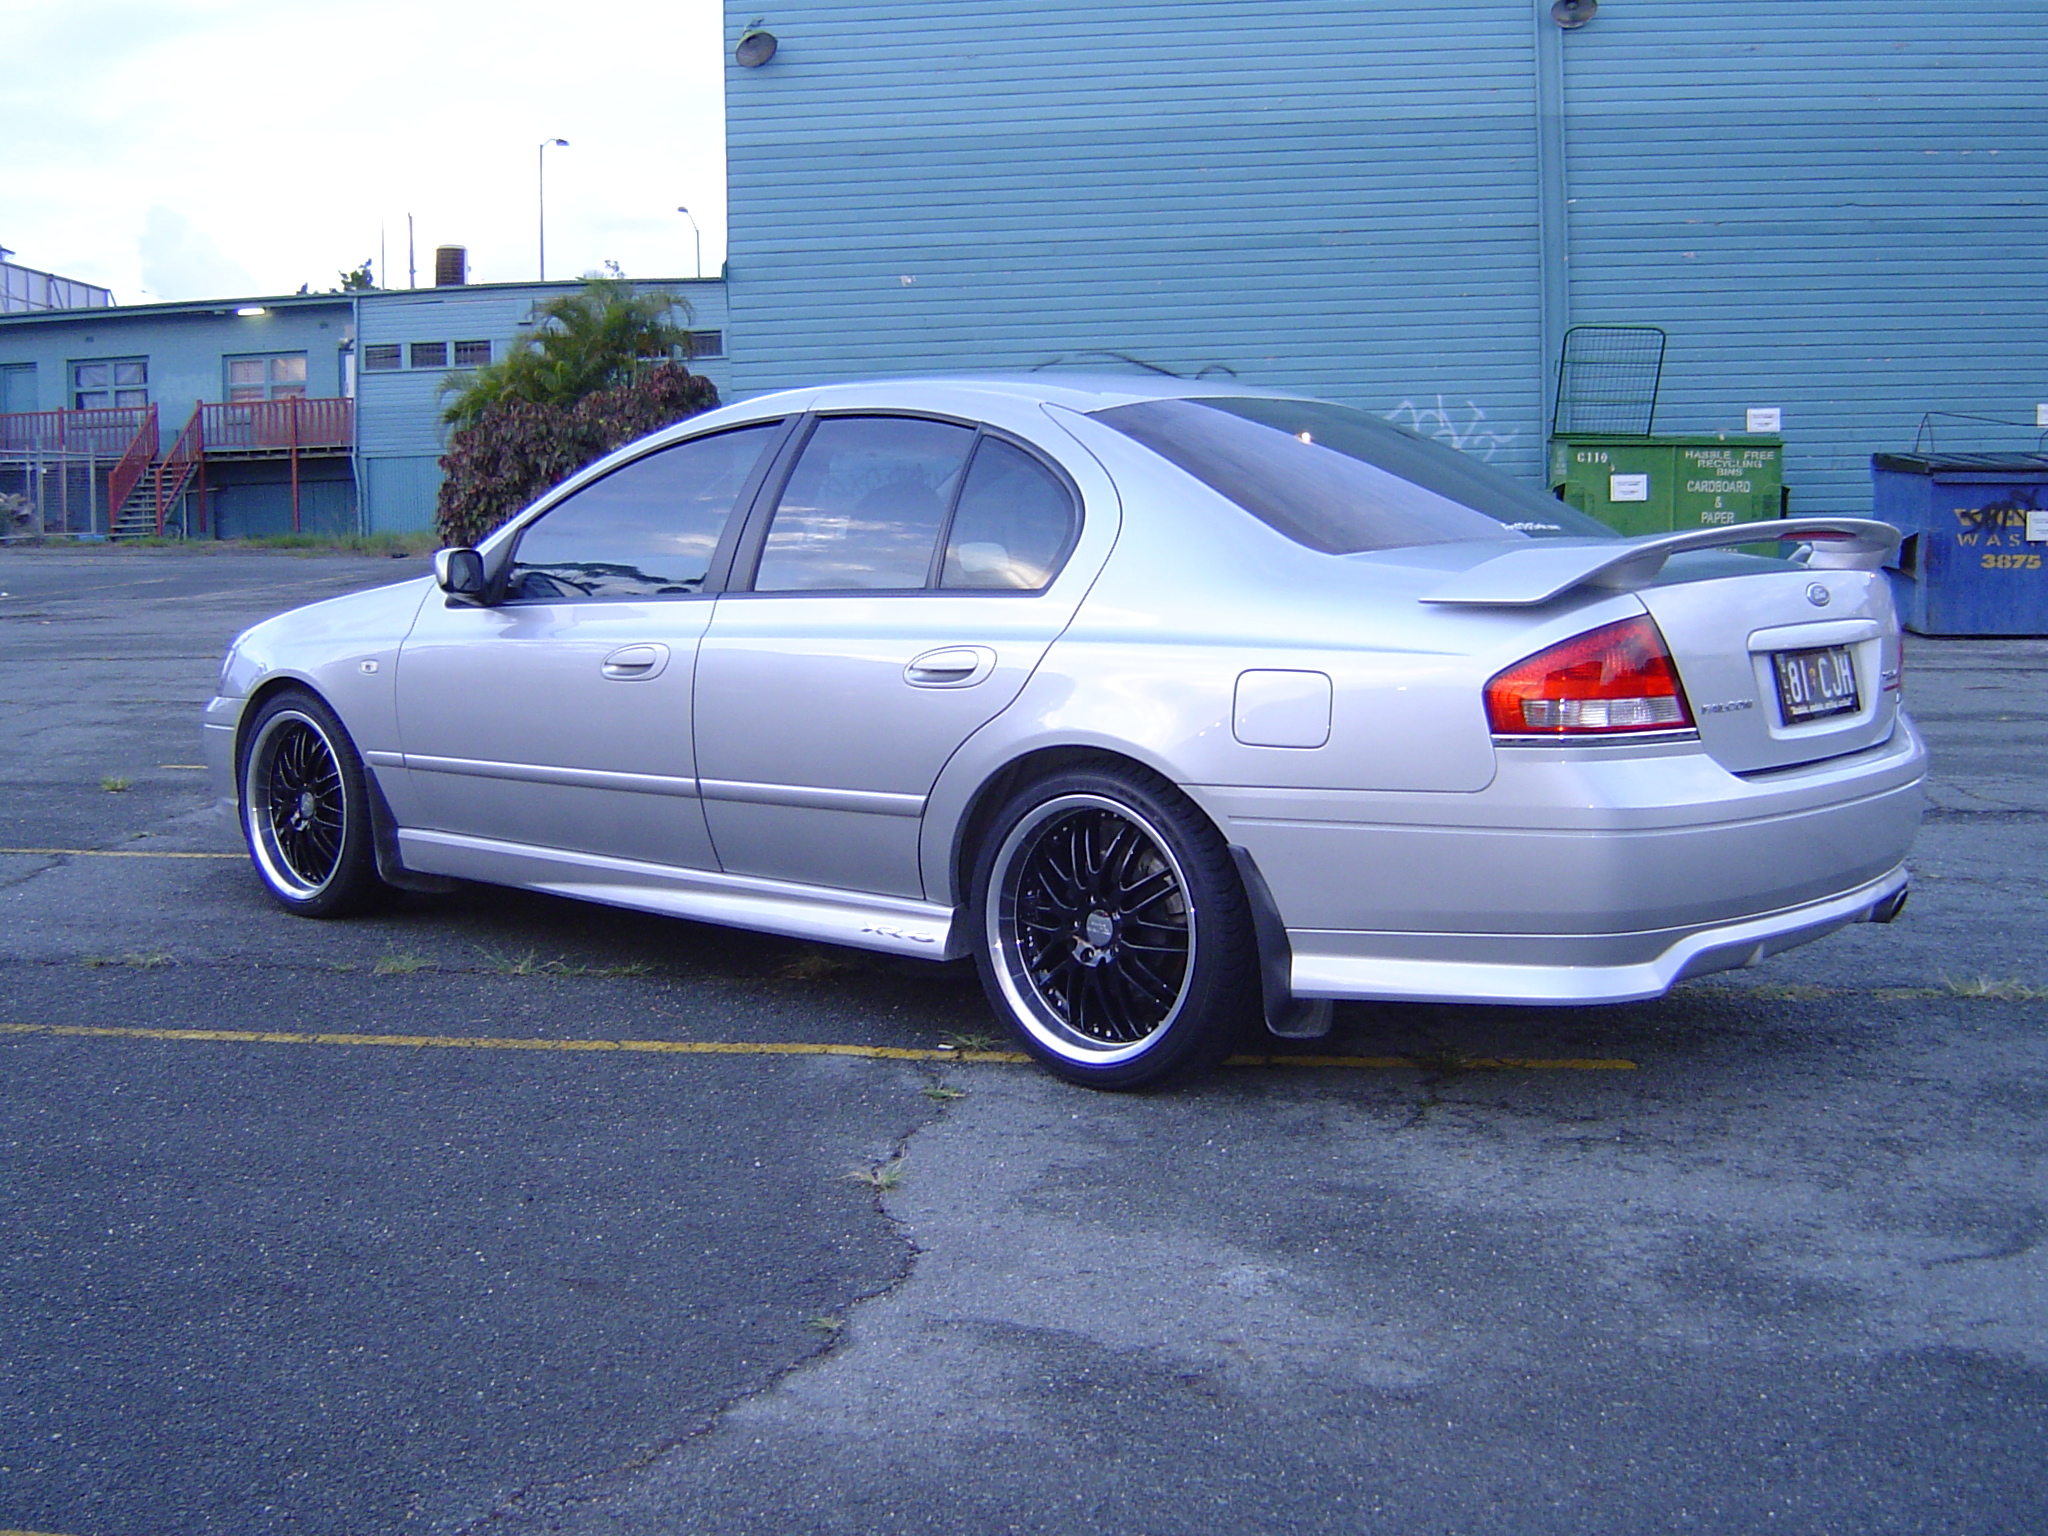
Got the wheels on today... Ruff Racing r281 (Black centre, polished lip) 19"x8.5" all 'round. If I had the option, I would have liked 18's, with 7.5" up front and 8.5" on the back. Regardless, I'm happy with the result. I certainly agree that it would look better lowered a couple of inches, but having owned lowered cars in the past, I've grown weary of sacrificing practicality for the sake of looks alone.
-
Getting some 19"ers on mine tomorrow... Stock springs. I was wondering how it would look, but having seen the pics you guys put up I'll be happy with stock height. I mean I'm pretty happy with stock height on 17's, so I don't see how bigger rims is gonna make it look crap.
-
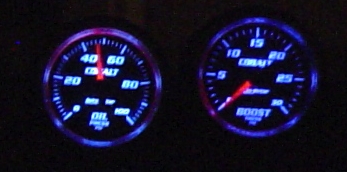
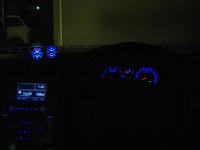
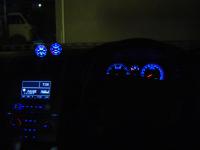
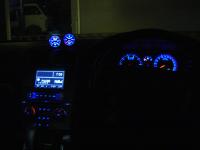
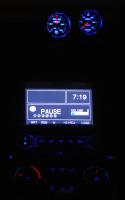
Sorry about the crap photography, I need a tripod or a better camera... or both. So, there's one of each dimmer setting, and a couple more on max brightness trying to get a good shot of the gauges.

-
Nice work mate, glad I could help.
-
Well ideally, grab a 1k ohm pot & hook it up so you can dim the gauges manually. If possible do it in a darkened garage so you can compare the brightness of the gauges to the rest of the dash. I found that on my gauges that at the highest brightness I wanted I was only feeding about 5.3V into the illumination wire. Once you have the gauges at the maximum brightness you require, you can turn off the lights, disconnect the pot without moving the knob and measure the resistance across the two legs you had connected. The value you get is the resistance you should use on the collector. Nice & simple, no maths. *Note: The collector resistor determines the maximum brightness of the gauges, while the emitter resistor determines minimum brightness. If you don't have a 1k ohm pot, just stick +12V into the gauges through a multimeter (in series) to measure the DC current being drawn. That will give you the maximum current required by the gauges and you can work out your resistor values from there. Example: If your gauges require 50mA (0.050 Amps), then 12V / 0.050A = 240 ohms. Once again, this is the collector resistor. Also bear in mind that if you need more power you need to drive your gauges, you may need 1 Watt resistors, not 1/2 Watt. Power = Current x Voltage. Remember to use the voltage drop across the resistor to calculate the power, not the full 12V. As for the emitter resistor, I'd have a guess at keeping it around 1/3 of your collector resistor value. I had a 300 ohm collector resistor & a 110 ohm emitter resistor, and the ratio seems about right. Remember, all we're doing here is supplying for more current to feed the extra gauge. The proportions should remain the same. Good luck!
-
Goddammit. Hey while you're in there can you tell me where all your gauge wires are hooked up? Maybe that's why mine is screwy.